


As you may already know, like Laura Ingalls, I live somewhere in the "Big Woods" of Wisconsin. And we're blessed to own a little piece of those Big Woods. One thing you might not know is that the Big Woods can be very hilly, too. Our back yard is basically a steep, wooded hill going up to a ridge. And for over a decade I have wanted to build a stairway into the hill to give us access to the ridge above.
And now I have finally done it! Let me show you how:
THE MEASUREMENTS

First, I had to determine how far up and how far out the ridge was from the base of the hill. This is called the Rise and the Run. (I'm guessing you already know that, or you wouldn't be searching DIY stairways!)
I didn't want to buy any special supplies, so to figure this out, I used what I had on hand:
-large step ladder
-4" level
-tape measure
-long rope
-a couple blocks or bricks
-two kids
I sent one kid up the hill with one end of the rope. I placed the ladder at the base of the hill with the level and blocks on top. I stood at the top holding the rope taught, and using the blocks, made the level and rope even in height to ensure we were, in fact, holding the rope level. From that point I measured down with the tape measure.
The second kid was supposed to be helping with this, but instead she spent the time yelling at me from the ground, angry that she wasn't the one sent up the hill and demanding fruit bites for restitution.
But in the end, I got the measurements, and that's all that matters.
The results:
Rise: 14 1/2'
Run: 40'
THE PARAMETERS
Next I laid out some rules for myself and this project. I called these "The Illities and Icity". As in:
Durability--After doing all this work, I wanted this stairway to last longer than me. In fact, as I breathe my last breath, I want to look out at my hill and say, "Well, at least my stairs are still here. Good-bye."
Accessibility--I wanted the materials I used to be something I could easily find at a local supplier in town, so that if and when I ran out of materials (which is inevitable during a project like this), I could just hop into town and pick up some more.
Affordability--If money were no object, I wouldn't be doing this. I'd be hiring someone else to build a staircase for me out of locally quarried limestone, designed to look as though it were a magical, naturally occurring feature of the landscape. But money was definitely a factor for me, as I guess it is for you (again, would you be looking at DIY stairways if you could just hire someone?) So I was looking for materials that were--dare I say?--cheap.
Portability--I was making this entirely by myself, so I needed to be using materials that I could load at the store, unload from my van back at home, and haul by hand up and down this hillside. So I had a limit of about 40 pounds per stone.
And now for the Icity--as in SIMPLICITY
I wanted this project to be simple. No cutting or splitting of stones, Nothing that couldn't be done with basic hand tools.
THE MATERIALS

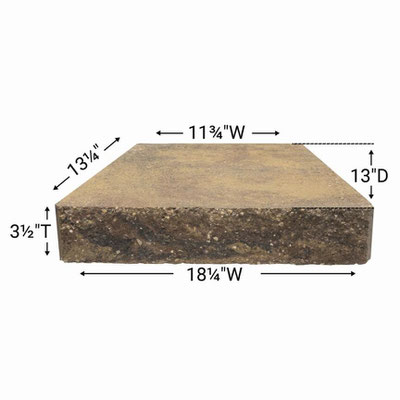

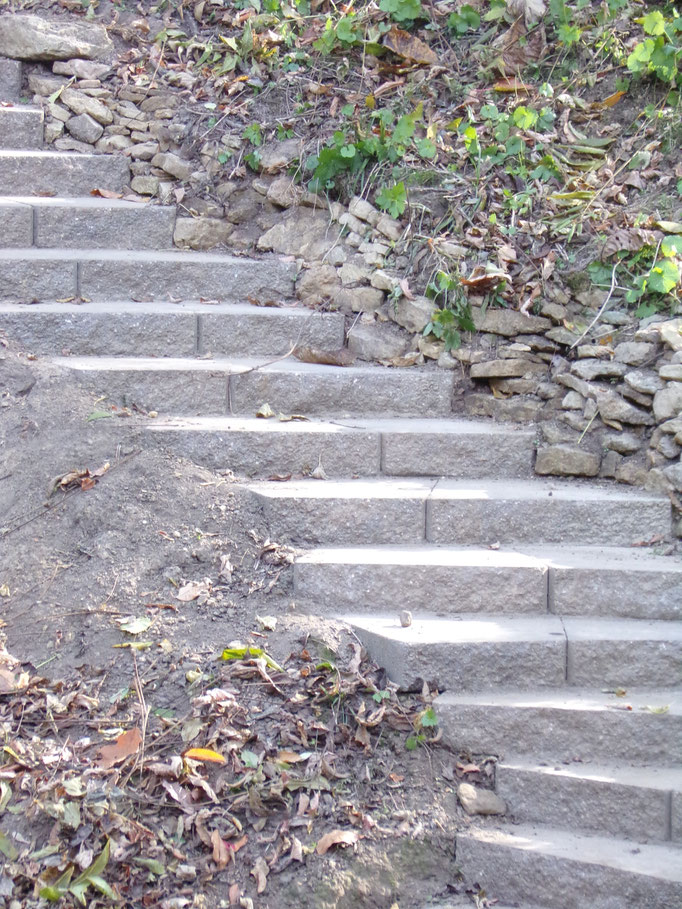
I chose an extra large retaining wall cap sold at our local home improvement store. It measures 18" on the wide side, 12" on the narrow side, 13" deep, and 3.5" tall. It came in four color choices. I went with Sienna, which was a mix of charcoal, tan, and terra cotta. (note: In NO WAY is it as colorful in person as they show it here.)
The cost was about $6.50 each.
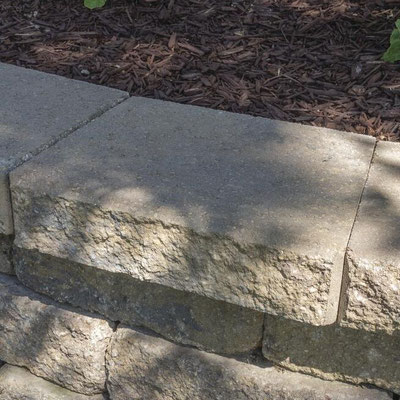
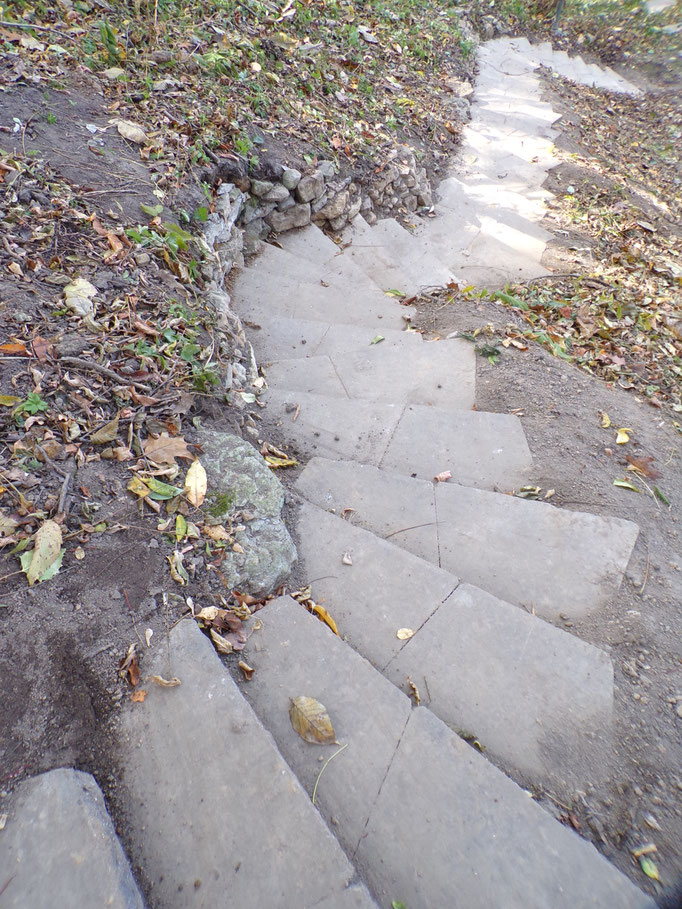
I laid these two for each step, making alternating parallelograms as I progressed up the hill.

Other materials included:
Multipurpose gravel
Leveling sand
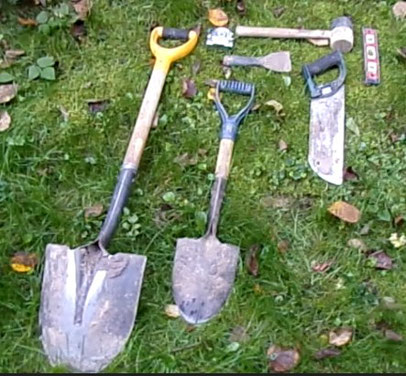
Tools:
Big shovel
Small shovel
Putty Knife
Small level
Rubber mallet
Hand saw
Tape measure
Gloves
Shoes, pants, shirt, undies, ...probably, but that's your call.
THE PLAN

Now for the fun part.
I had my hill's rise and run, and my stone size, so then I just had to do some simple math to divide the rise into even parts using the stone's height.
And then I took that number of parts, and divided the run by that number to determine the depth of my steps.
So for me that was a riser of 3.5" and about a tread of 10".

Just a note--you have some wiggle room when it comes to the depth of the steps (run), particularly in a "rustic" situation, where you might be curving the stairs. But the height of each step (rise) must be consistent to prevent tripping.
Ideally, the rise would be between 4" and 7", because that is what feels most natural to us humans as we step. But I had to work with what I had. If God wanted me to make 7" risers, he would have made the hill a different shape. Or He would have made the concrete retaining wall caps with more choices of size.
THE EXECUTION
Now for the construction--
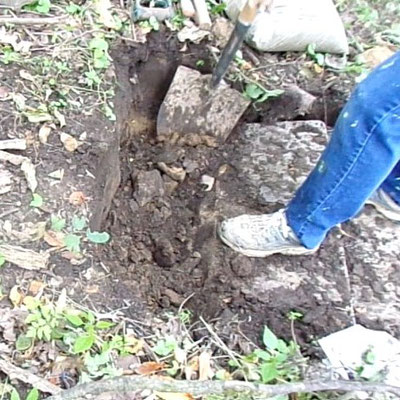
-Mark the space for the step.
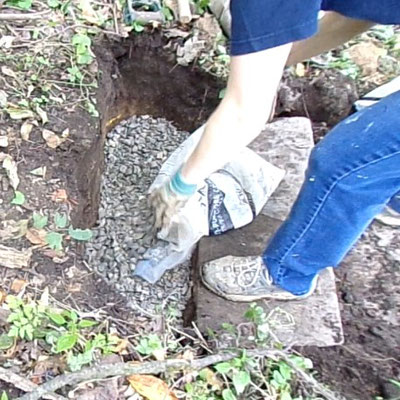
-Dig the space about 7" down (like a little grave).
-Fill about 6" with multi-purpose gravel.
-Tamp or stomp it down to compress.
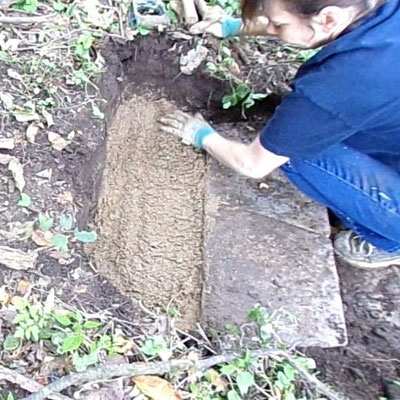
-Add leveling sand.
-Tamp or stomp down.
-Make the foundation smooth.
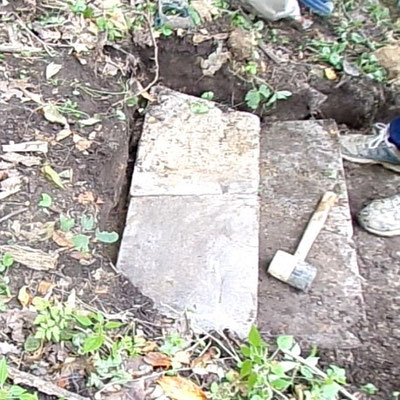
-Place the first stone.
-Using level, ensure the stone is level from side-to-side, and pitched slightly forward to prevent water pooling on step.
-Place second stone carefully, directly next to first.
-Check with level and adjust accordingly.
After the first step, you'll be doing all this behind the back of the previous step. I also overlapped the steps at least an inch to ensure stability.
And when you get to the top, you'll need to attach the final row with concrete adhesive, since nothing is holding them down.


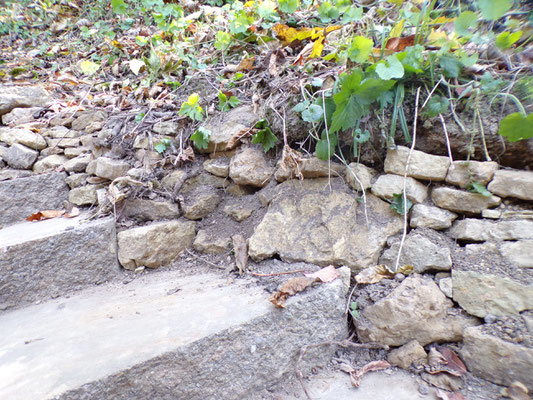
When the stairway was complete, I took the rocks I had dug out during the process and arranged them into a makeshift retaining wall at places where the hill was steep.
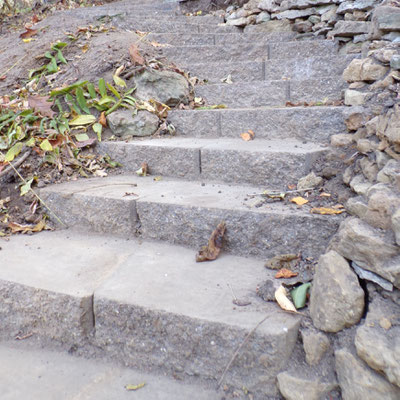


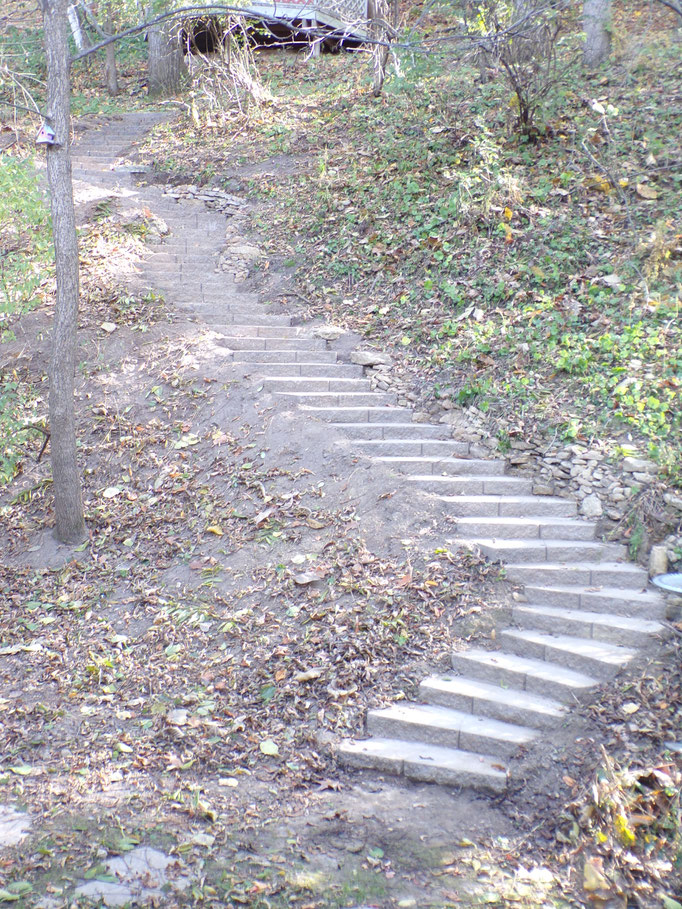
THE COMPLETED PROJECT


Watch my video of this project here.

(if you're seeing a blank space here, it's a missing youtube video. Here's the address: https://youtu.be/AS1XC-FKpFM )
Now for the numbers:
50 steps
100 retaining wall blocks
75 bags of gravel
50 bags of sand
total of 9,000 lb of materials (not to mention the dirt that had to be removed to accommodate the gravel and sand)
Cost: about $1,200
Time: about 40-50 hours
plus 10-15 hours in transporting materials, removing dirt, and arranging the spare rocks
And I did this all by myself! If I could do it, then seriously, you could do it too.
Unless, of course, you're lazy. In which case there's no hope for you.
Thoughts? Comments? Leave a message or drop me a line!
Write a comment
Paul Luopa (Sunday, 14 July 2024 16:02)
Hi Erin,
I was reading on how to build stairs and saw your diy thank you! Also when I read your comment at the end. You said you fight depression with crafts ,home projects , retro reno . Is that true ? I think I’ve been doing that the last year and didn’t realize that till recently and you when I read that it made me think about it, Hope you are doing well and best wishes.
erin at knotworthknowing (Tuesday, 16 July 2024 07:12)
Hello Paul,
Thank you for your message. You are the first person to leave a comment, so I was pretty surprised. I’m glad you found my stairway, and hope it was of some small use. And as an update, it’s now in its third year, and despite the harsh Wisconsin winters, it’s held up well. No heaving or shifting. So far, so good.
Yes, I certainly find my projects as a good way to deal with depression. When I maintained my blog and posted regularly, I would split my entries between house projects, crafts, stories of my kids, and also on my battle with depression. However, I received more benefit from doing the projects rather than the blogging (that was always stressful). So I removed most of my articles except for a few projects that someone might find useful.
I think there’s something therapeutic to being able to focus on a task. It makes me feel like I’m accomplishing something, and that my work has a purpose. Besides, maybe 90% of our lives we are powerless to change, but this--the projects or hobbies--are one part we have control over, and that helps me at least to deal a little better with the other 90%. Whenever I do not have a house project going, I get very down. Maybe you understand what I’m talking about.
Maybe this coping method is unhealthy?...I don’t know. But I’ve tried everything over the years to combat depression. And honestly, for me personally, working on projects has been better for me than antidepressants and therapy.
I hope you are well, and I hope your current project is successful. Thanks again for your message, and hang in there!
-Erin